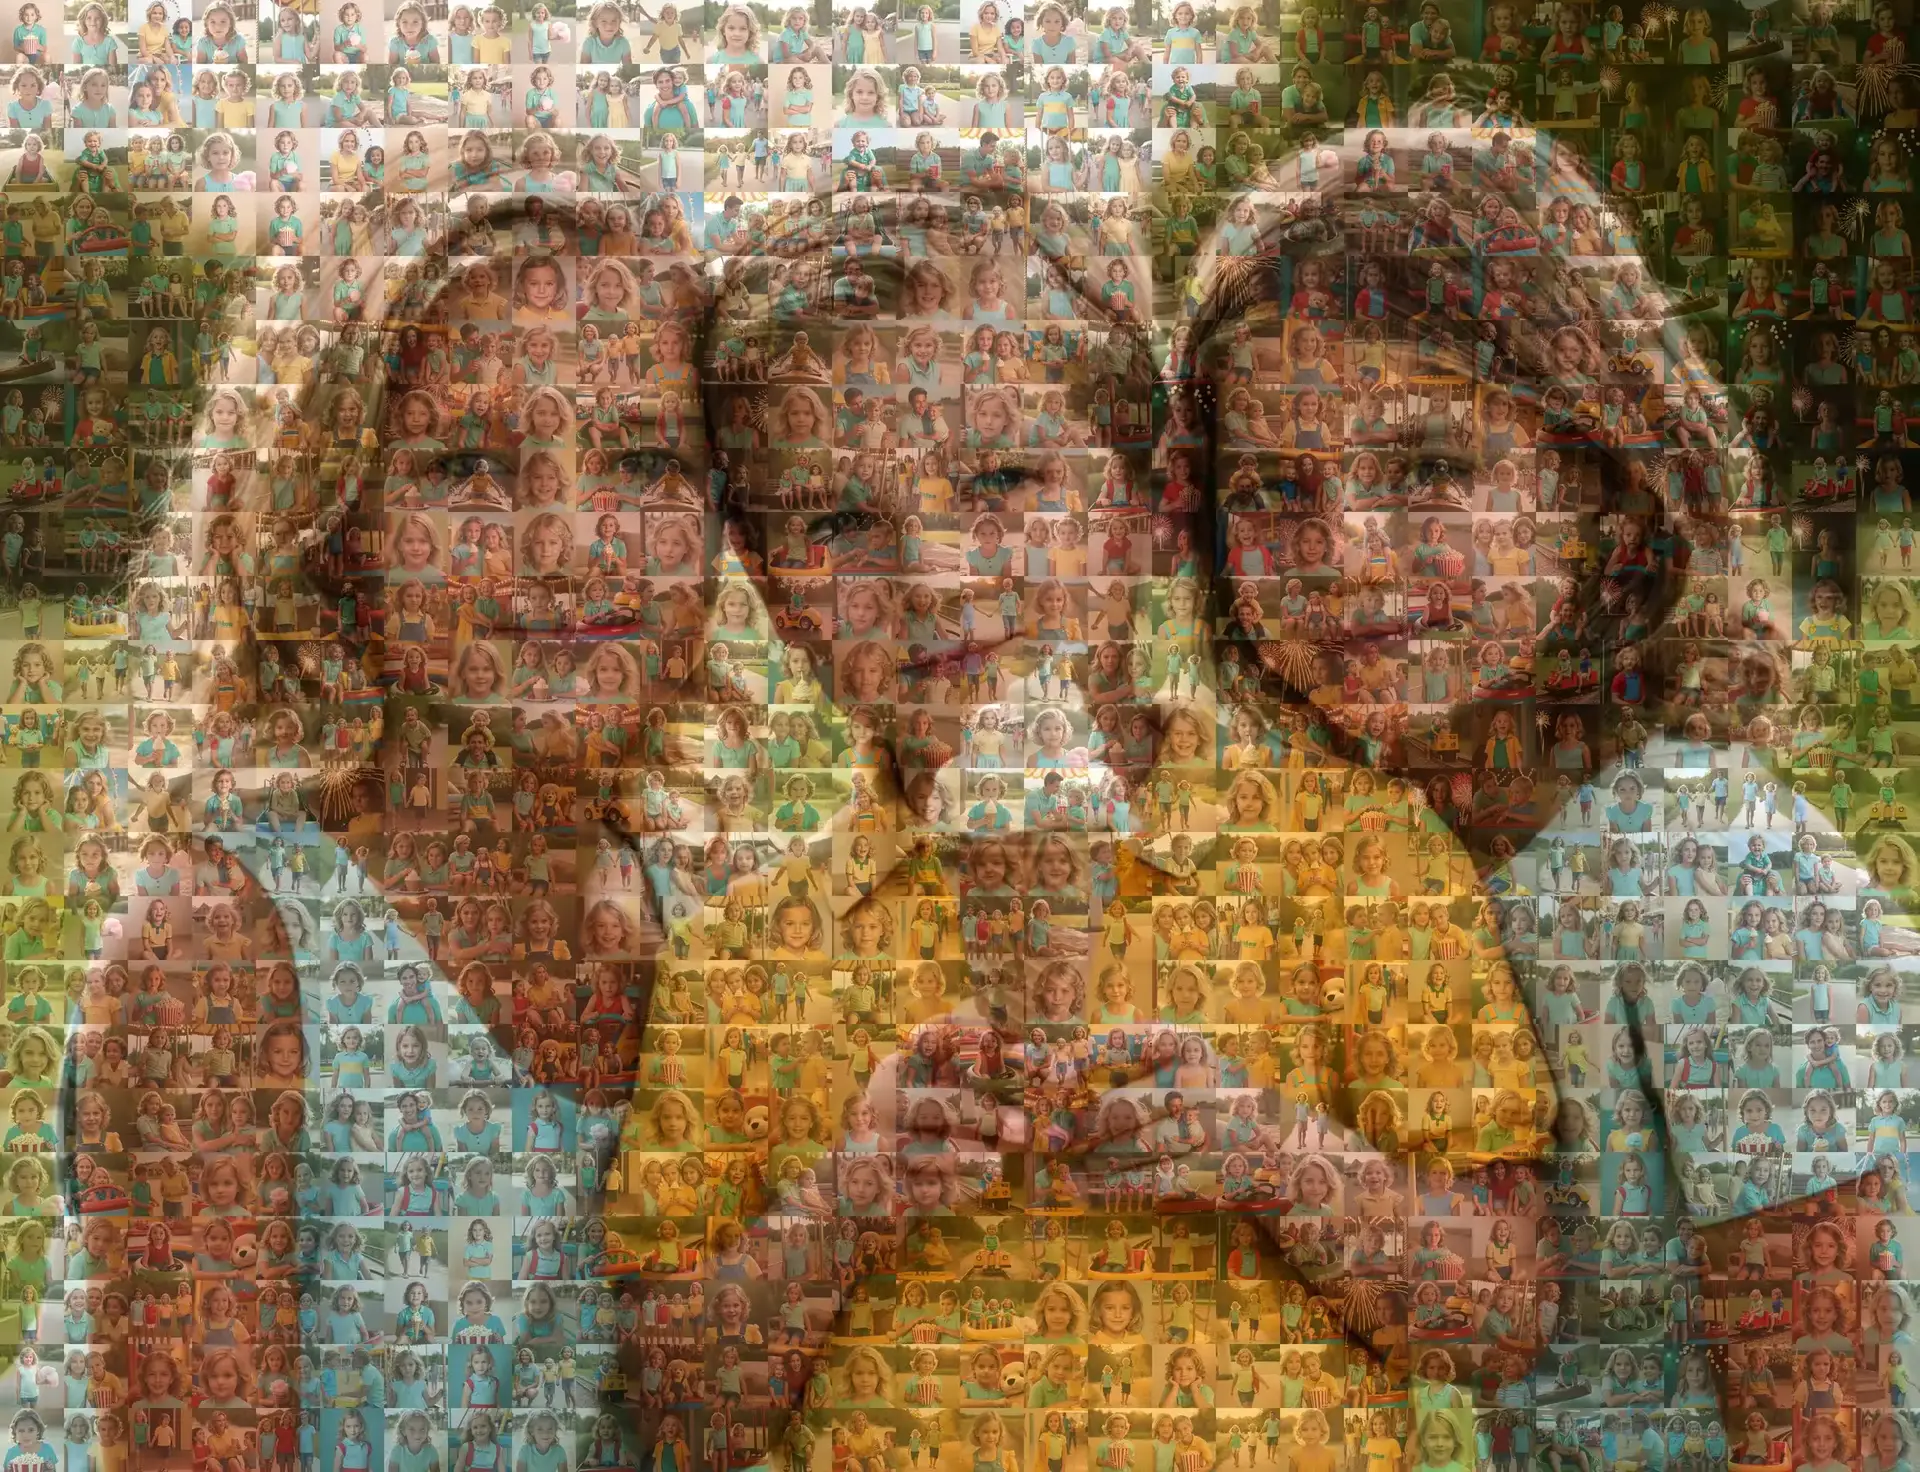
Photo mosaics are a visually stunning way to tell your story through images. With MozPixie, anyone can create a breathtaking mosaic, but if you want to take your design to the next level, here are 5 expert tips to help you create the perfect photo mosaic.
1. Choose Your Main Image Wisely
Your main image is the star of the show. Choose a picture that has clear lines and bold colors to ensure it stands out when all the smaller images come together.
2. Use High-Quality Photos
The quality of the smaller images matters! Use high-resolution photos so that each detail shines through in your mosaic. This is especially important if you plan to print your mosaic.
3. Select Photos with a Consistent Theme
When choosing the smaller images, it’s helpful to stick to a theme. For example, if you’re making a travel mosaic, use all travel-related images. This creates visual harmony.
4. Play with Colors
Experiment with the color contrast between your main image and the smaller images. If your main image has a lot of dark tones, try using lighter-toned smaller photos for a striking effect.
5. Customize the Layout
MozPixie gives you plenty of layout options. Explore the different mosaic styles and grid patterns to find the one that best fits your vision.
Creating a perfect photo mosaic is as easy as following these tips. With MozPixie, you’ll have all the tools you need to design something truly special. Get started today and turn your memories into art!
